Vitra flush valve,concealed cistern flush valve,3/6L flush valve,436317YP,replacement cistern valve,dual flush valve,budget bathrooms,Vitra spare
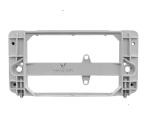
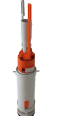
Vitra.concealed.Cistern.FLUSH.VALVE.FOR.03-Jun.LT.FLUSH.436317YP.
£24.11
Availability: In stock
See Products available WhatsApp 447388436176 Email customerservice@mytoiletspares.co.uk
Vitra.concealed.Cistern.FLUSH.VALVE.FOR.03-Jun.LT.FLUSH.436317YP.
| Product Type | Spare Parts |
|---|---|
| Barcode | 8697221132270 |
Write Your Own Review
Products available